
5 tips to prepare for installing stone veneer
April 15, 2022
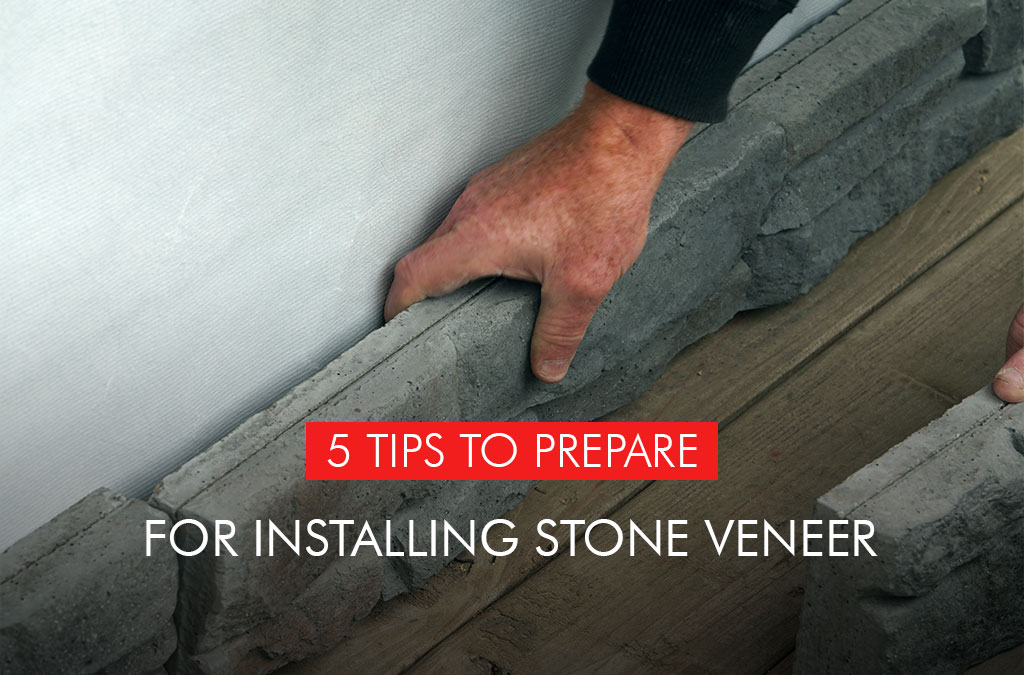
As natural textures like stone take the lead in home design trends, stone veneer is an affordable and effective way for homeowners to enjoy the look.
Some stone veneer requires specialized masonry skills, but mechanically-fastened Fusion Stone is simple and convenient to install, so you and your team can save time and stay on budget without sacrificing quality for your clients.
Here is an overview of core tips to prepare for a quick and easy stone veneer installation.
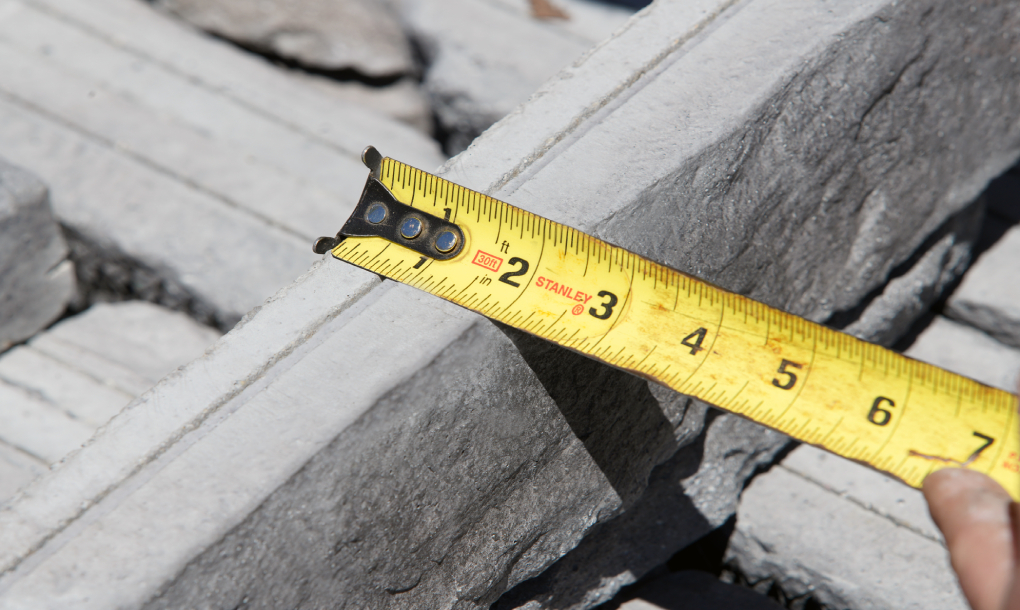
1. Do your math
You know you’ll be calculating the surface area to be covered to find out how much stone veneer you need, but remember to also calculate corner heights and Starter Strip lengths too. Fusion Stone comes in various small and bulk packs, as well as packs with stones for corners. To know the number of corner packs you need, measure the heights of all outside corners and add them together. Also measure the widths of walls and openings such as windows or doors to confirm how many Starter Strips you need. You can plug your numbers into the easy online estimator to remove the guesswork – it will tell you how many packs and how many corners and Starter Strips you require.
2. Gather your tools
There are no highly specialized tools or materials required to install Fusion Stone. However, a few items are important to have on hand. Fortunately, they are tools any contractor or experienced DIY-er already carries. You need a tape measure, a level, a drill and a saw with a masonry blade. Tin snips may also be useful. Each pack contains stainless-steel screws and clips, and one-in-four packs contain a driver bit, so you don’t need to use your own.
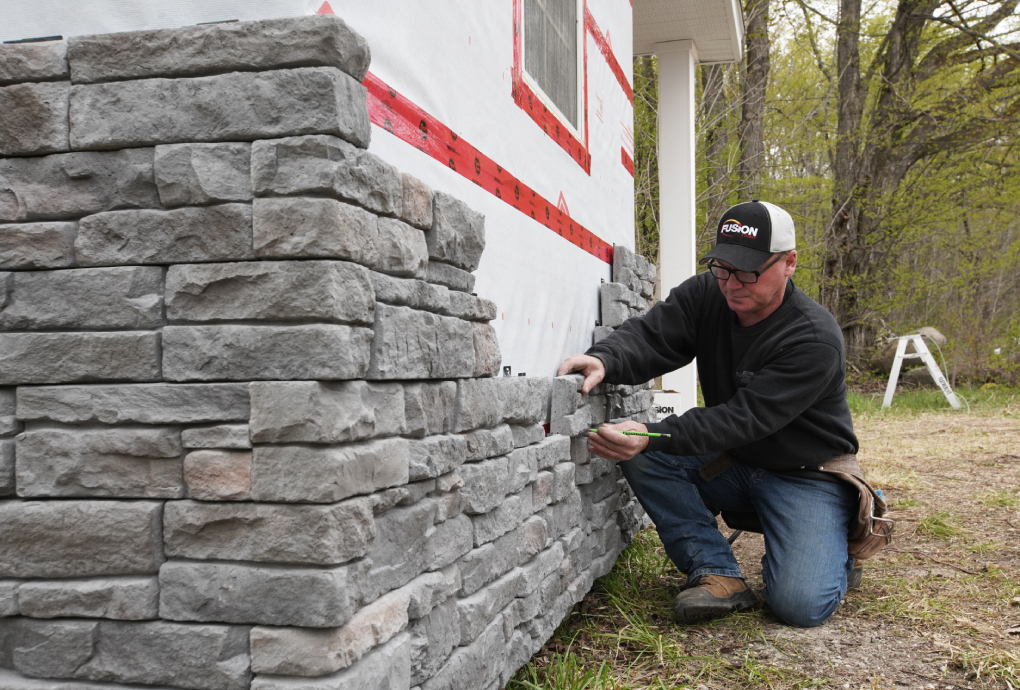
3. Prepare your walls
Many stone veneer products require metal lath and a scratch coat of mortar to prepare the surface. Fusion Stone only requires a solid wall with plywood or OSB substrate. This is what you will screw the clips and stones into. If you’re applying the stone on an exterior wall, it’s crucial to ensure the surface is covered in a code-approved, breathable, weather-resistant barrier. If you’re applying the stone veneer indoors, the barrier is of course not required.
4. Consider your layout
To get the best look, mix and match stones from across different packs and alternate between the different sizes of stones. Your installation guide has recommendations for clip placement and layout that are designed to create a natural appearance. Reviewing this plan ahead of time can make the install go faster since you know where to place each clip. It’s also an option to lay out the pattern before you begin to get a sense of where you’ll need to cut any stones to size.
5. Apply your Starter Strip and stone
As a mechanically-fastened option, each wall starts with a stainless-steel Starter Strip. These go above doors and windows as well. Make sure they are level and allow a minimum clearance of a ¼ inch above grade for drainage.
After you’ve affixed the starter strip to the wall, start your stone application where two outside walls meet. Once the corners are in place, begin working towards the middle of the wall.
For more tips, tricks and best practices, check out our videos or online installation guides.
