
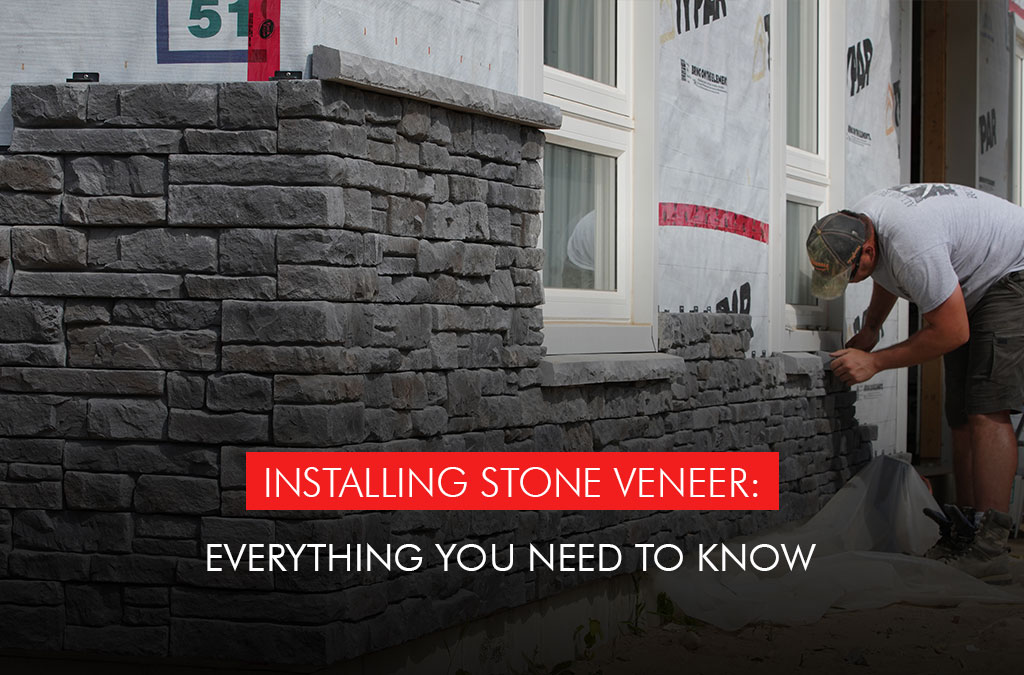
Installing stone veneer: Everything you need to know
August 2, 2022
When it comes to home renovation, some projects like homemade shelves are more do-it-yourself-friendly than other upgrades like electrical work. Stone veneer installation is one project that passes the test for a gorgeous update that you can do on your own – you only need a few items and tools on hand to help the job go smoothly.
Here’s what you need to know:
Stone veneer basics
Stone veneer is a decorative slice of stone most often created from molded concrete, natural aggregates and iron oxides for colour. It’s great for providing a beautiful authentic-looking stone effect anywhere on your home, from a cozy fireplace nook to full exterior coverage.
Quality and ease of install can vary across different types of stone veneer or depending on the brand, so do your research to ensure you get one that’s good for your needs and your skill level.
Before you install
There are a few core questions to ask and answer before you install stone veneer, such as what tools or other materials will you require? And how much product will you need?
Of course, the all-important question is: how do you actually attach it to the wall? While many types of stone veneer require something called metal lath and a scratch coat of mortar to ensure strong installation, some quality stone veneer does not, making it easier for you to install without hiring an expert.
If you’re going the DIY-route, a mortar-free, mechanically-fastened option like Fusion Stone means one less thing to worry about getting right, and it keeps the process less messy. Plus, it can be installed any time of year – even here in Canada. It’s contractor-approved but more than doable for the average handy homeowner.
What tools and materials do you need?
There are a few standard items you’ll require to install Fusion Stone, but you don’t need anything highly specialized. You likely already have the tools on hand: a tape measure, a level and a drill. A saw with a masonry blade is very useful and easy to buy, rent or borrow if you don’t already have one. You may also want to grab a pair of tin snips, depending on your project.
As for materials: You simply need a sturdy wall with plywood or OSB substrate into which you’ll screw the stones. Stainless steel screws and clips are included with the product, and one-in-four packages contain a drill bit, so you don’t need to have those ready. If you’re applying the stone on an exterior wall, it’s crucial to attach a code-approved, breathable, weather-resistant barrier onto the plywood, though that’s not necessary for indoor installations.
How much product do you need?
Measure the width and height of the wall, then multiply the two numbers to get the surface area. Find the total square footage by adding together the areas of each surface you plan to install on. Just remember to deduct the surface area of windows and doors from the total since they won’t be covered.
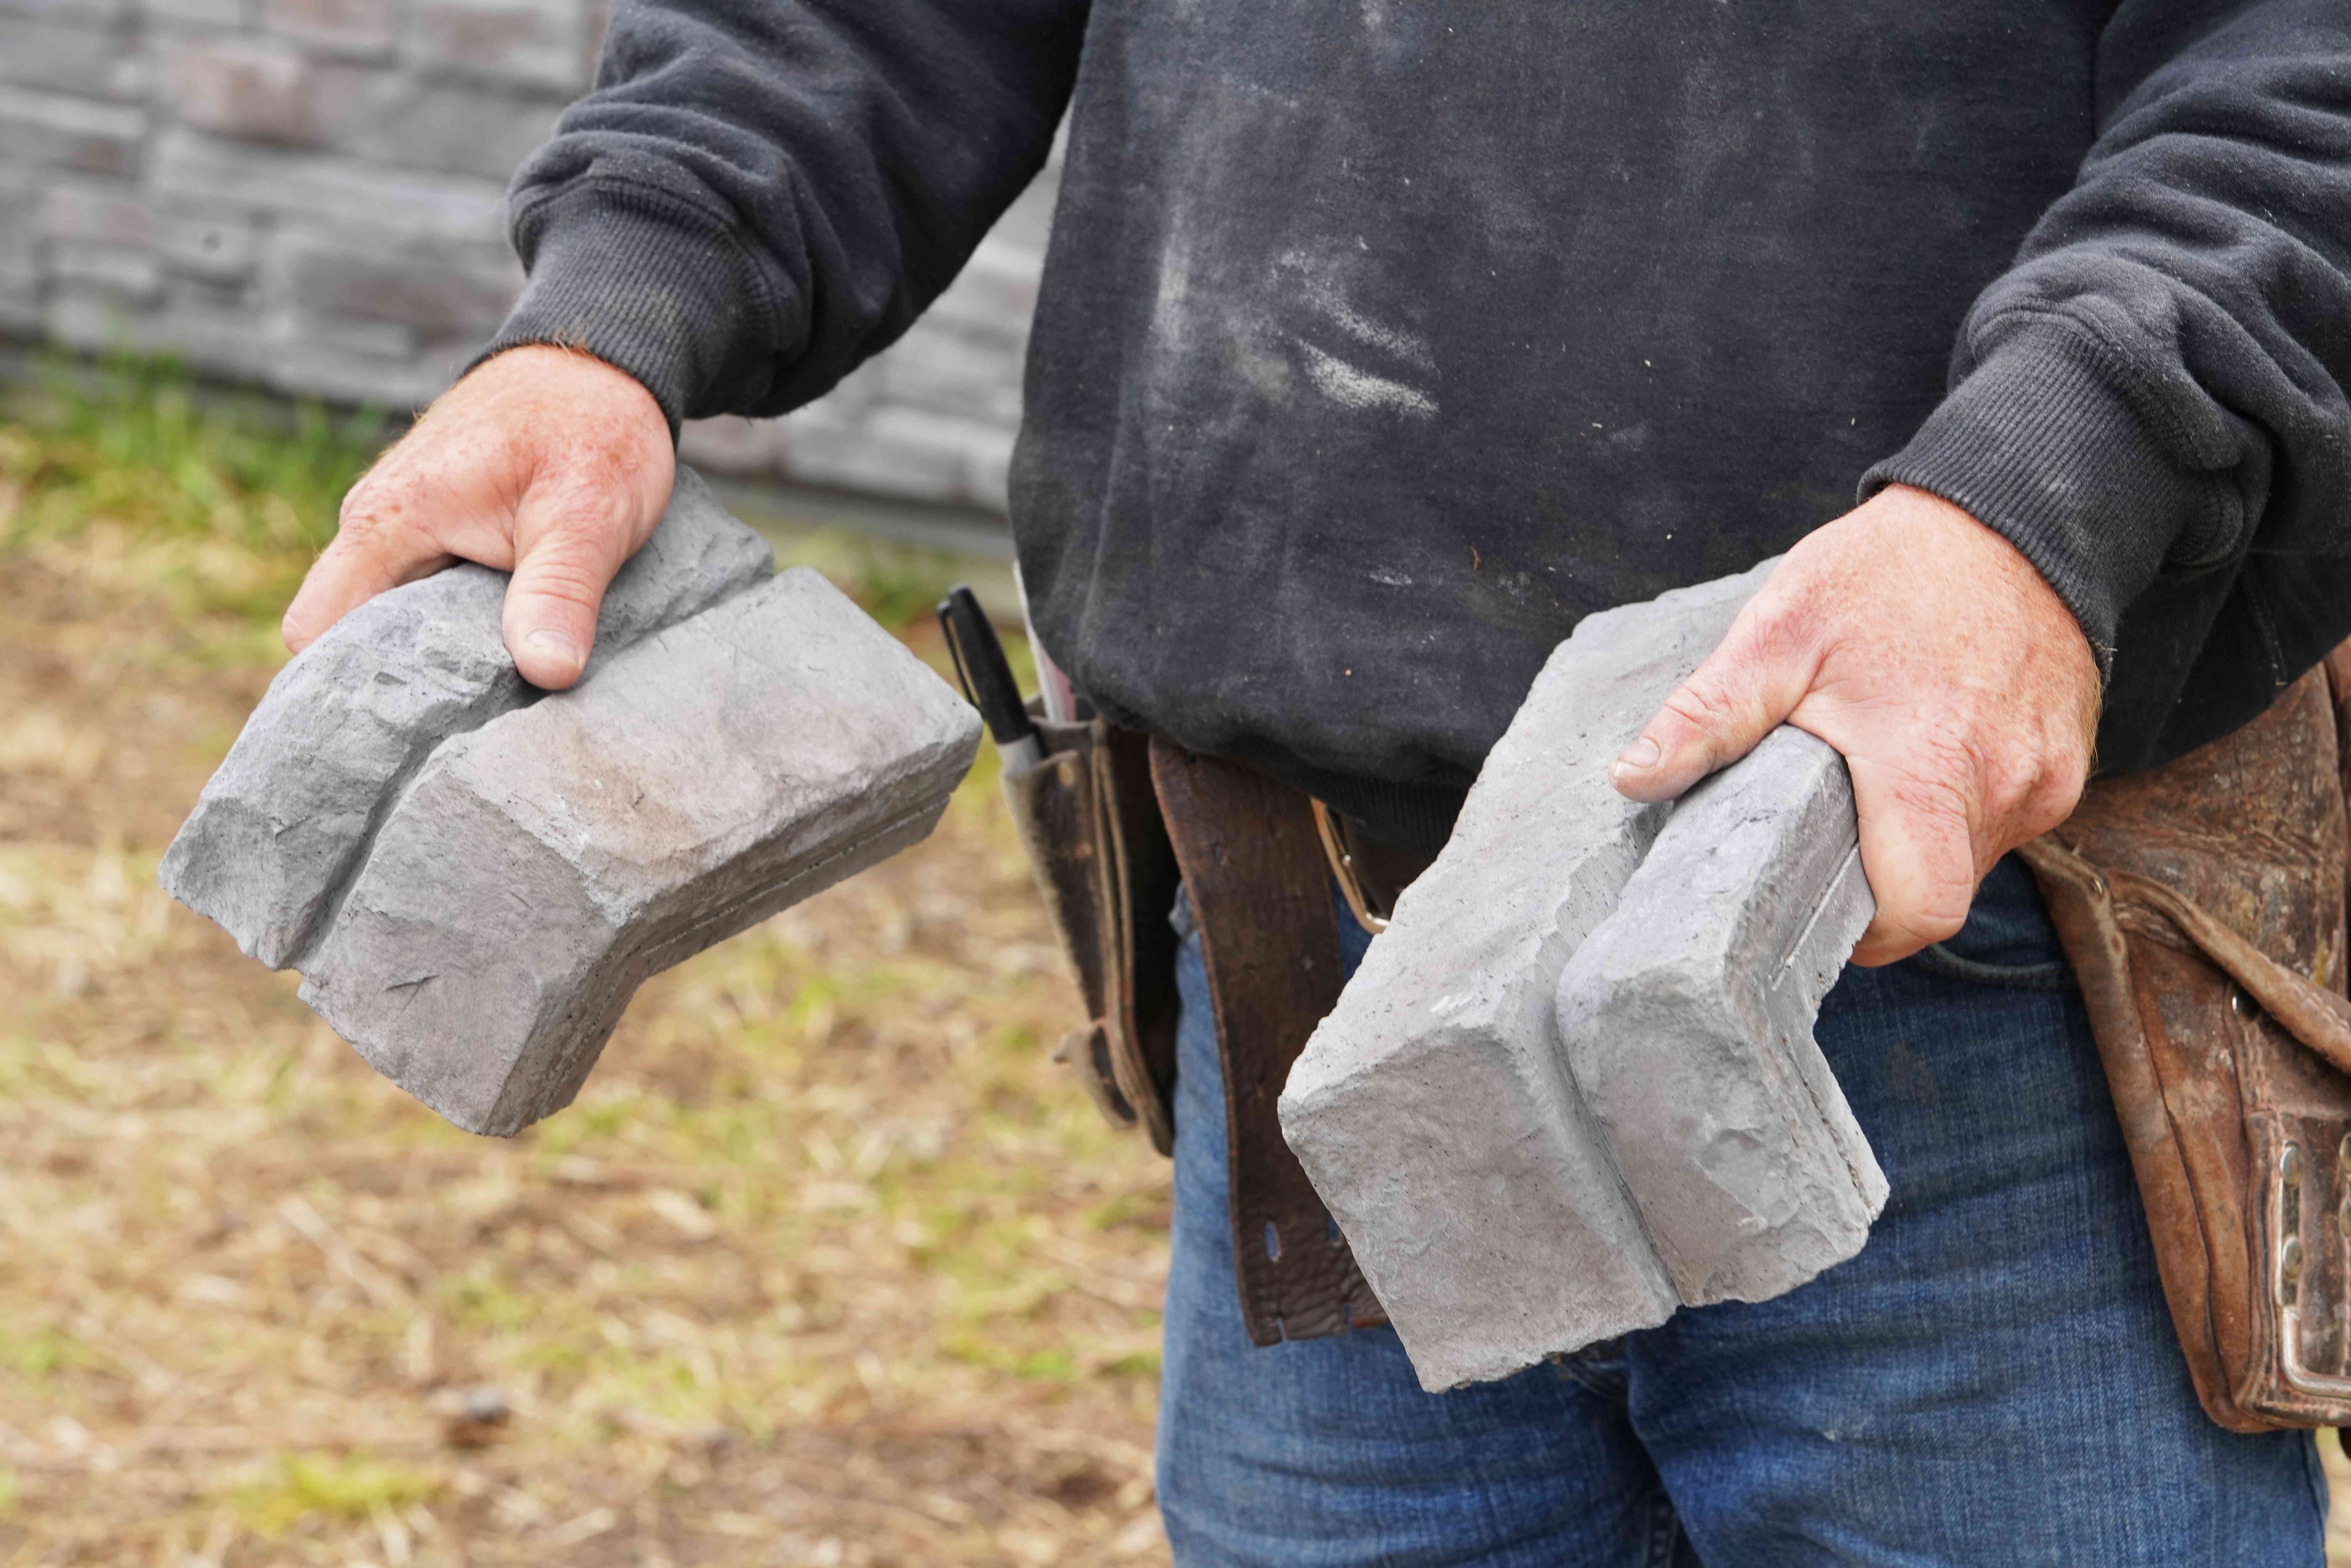
Fusion Stone comes in small and bulk packs, as well as corner packs. You will also require Starter Strips to get your project going. You get the most appealing look by mixing pieces from a few different packs during installation. To determine the number of corner packs you need, measure the heights of outside corners and add them together. Use the widths of walls and openings such as windows or doors to confirm the number of Starter Strips you require.
How to get started?
Once you have organized your materials and tools, it’s time to get to work.
1. Prepare the surface
Install plywood or OSB sheathing on the surface you plan to cover with stone veneer.
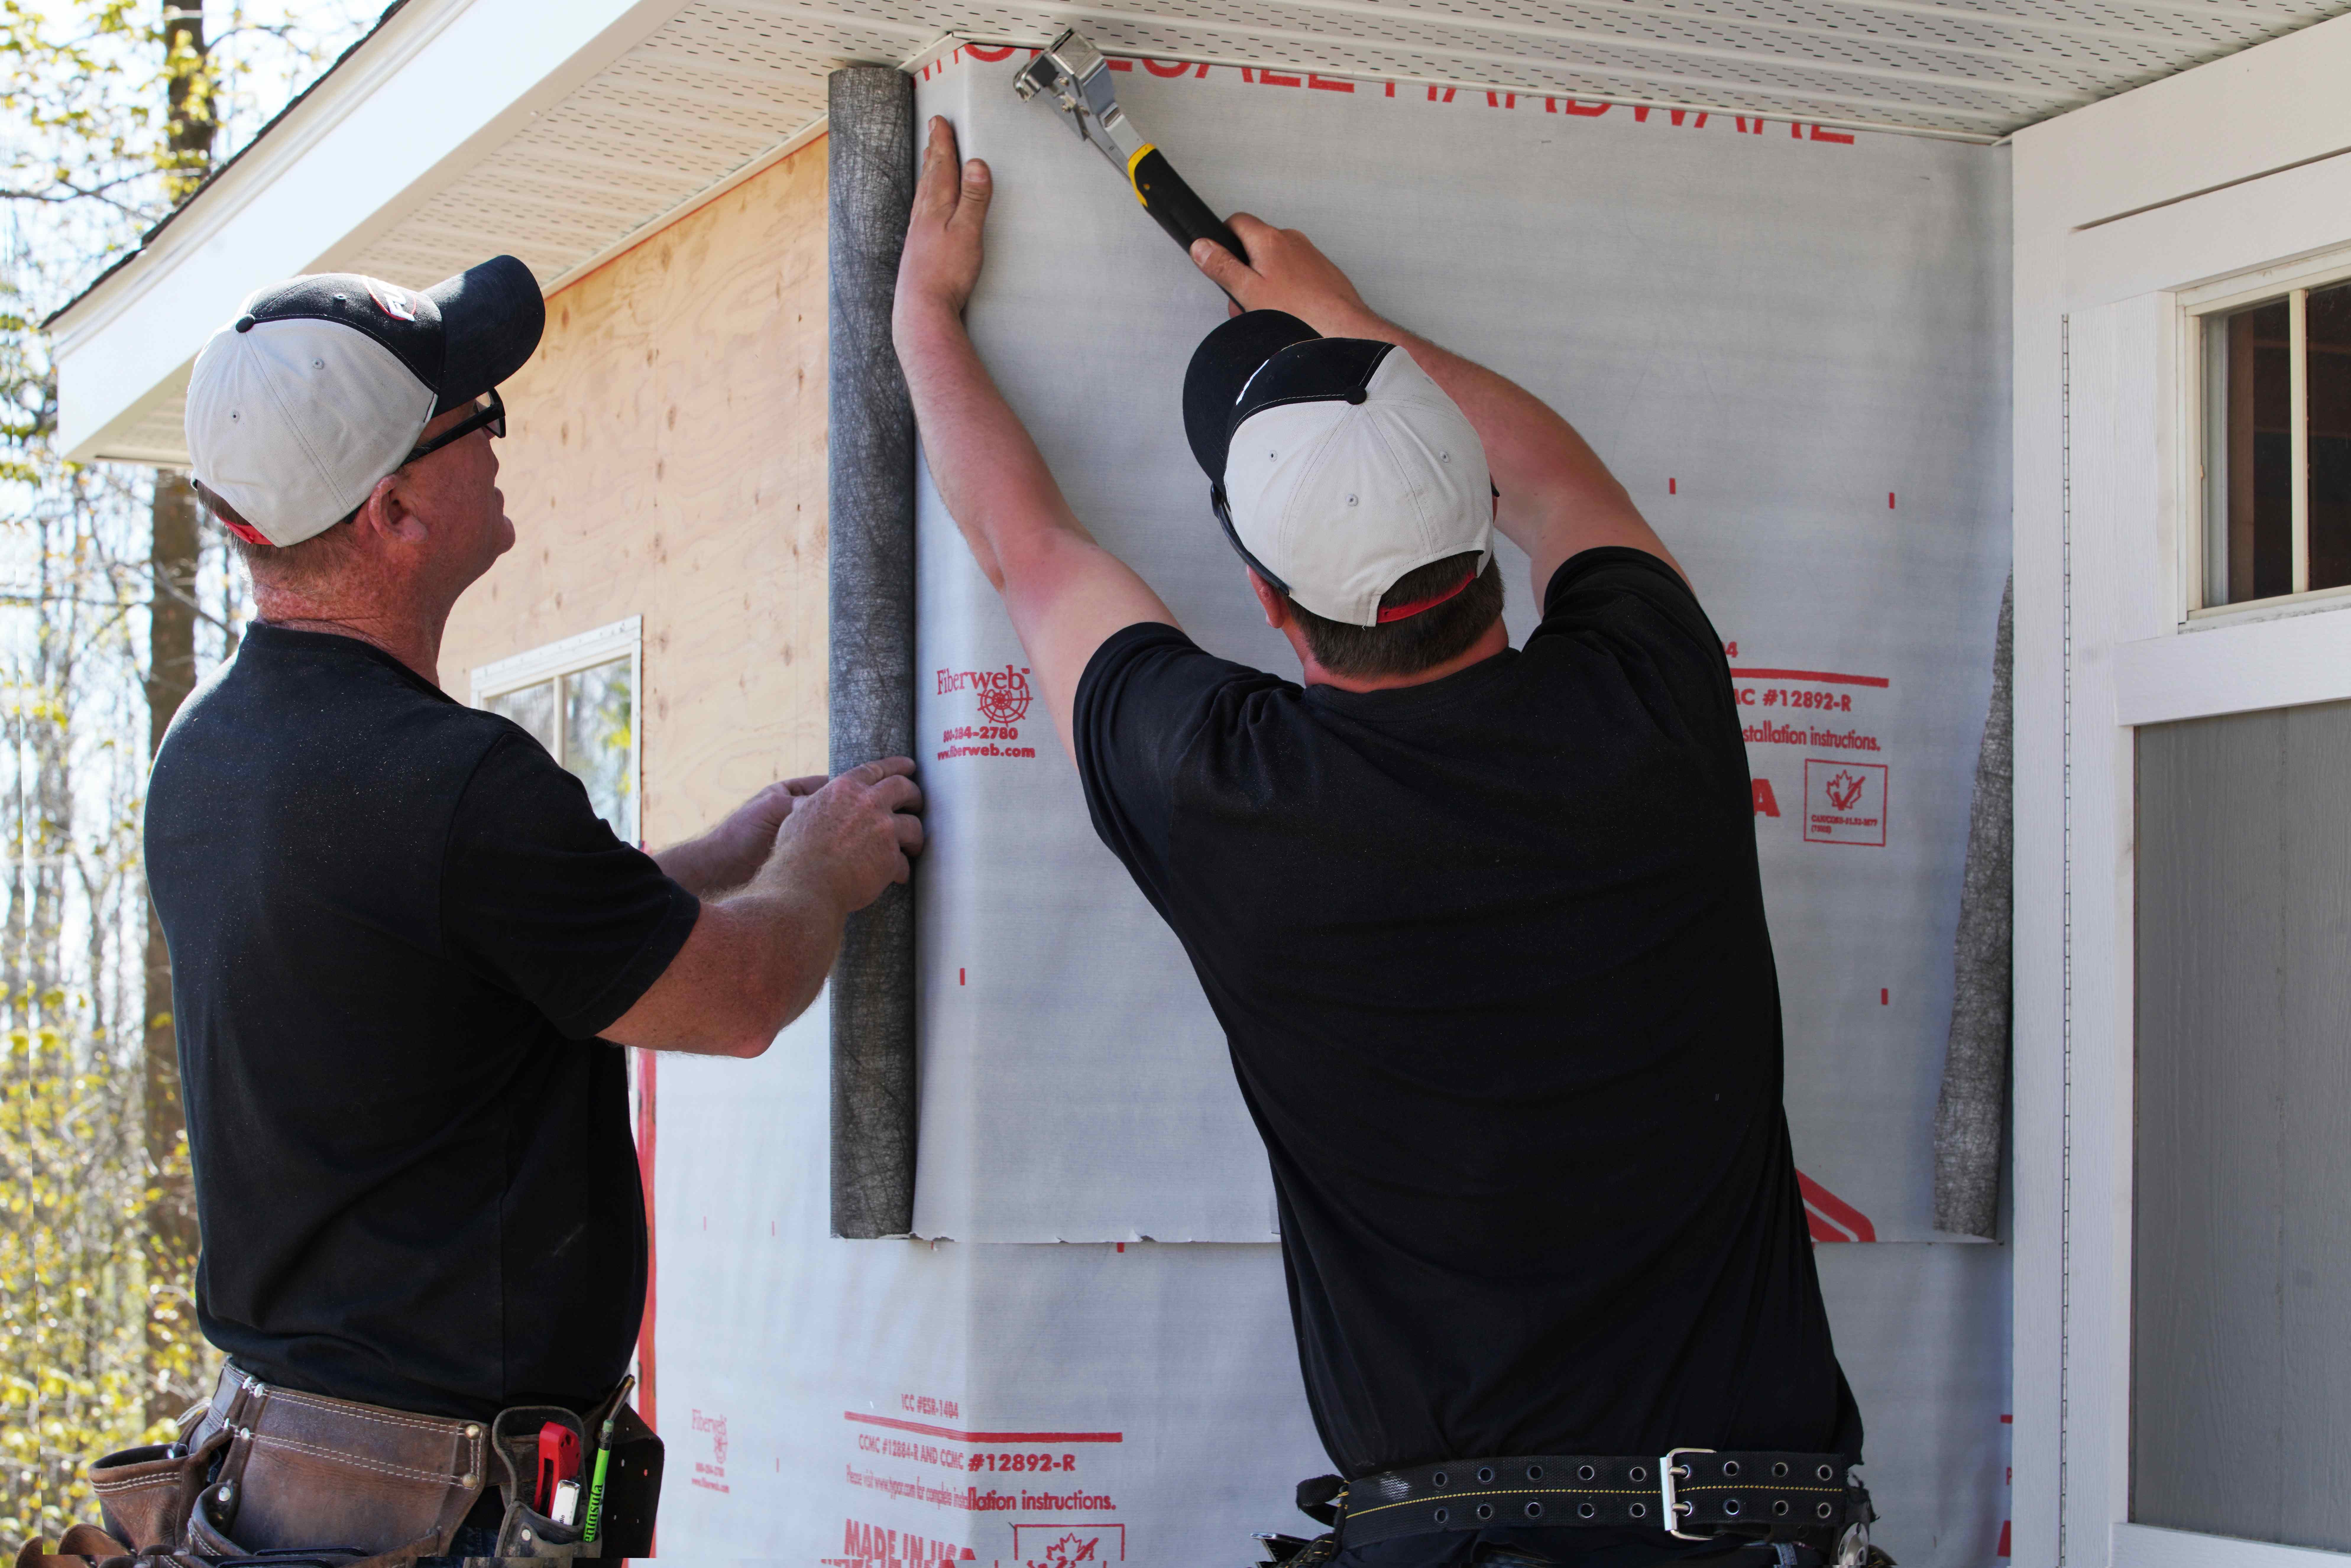
If you’re installing the stone on an exterior surface, install your moisture barrier on the plywood or OSB.
2. Install the Starter Strip
The stainless-steel Starter Strips are screwed in at the base of every surface and above the openings of windows and doors. They allow you to screw in the first a row of stones. The rows above will use clips provided in the packages of stone.
Make sure the Starter Strips and clips are level and allow enough clearance above grade for drainage if you’re installing outside. Consult your local building official to confirm how much clearance is appropriate.
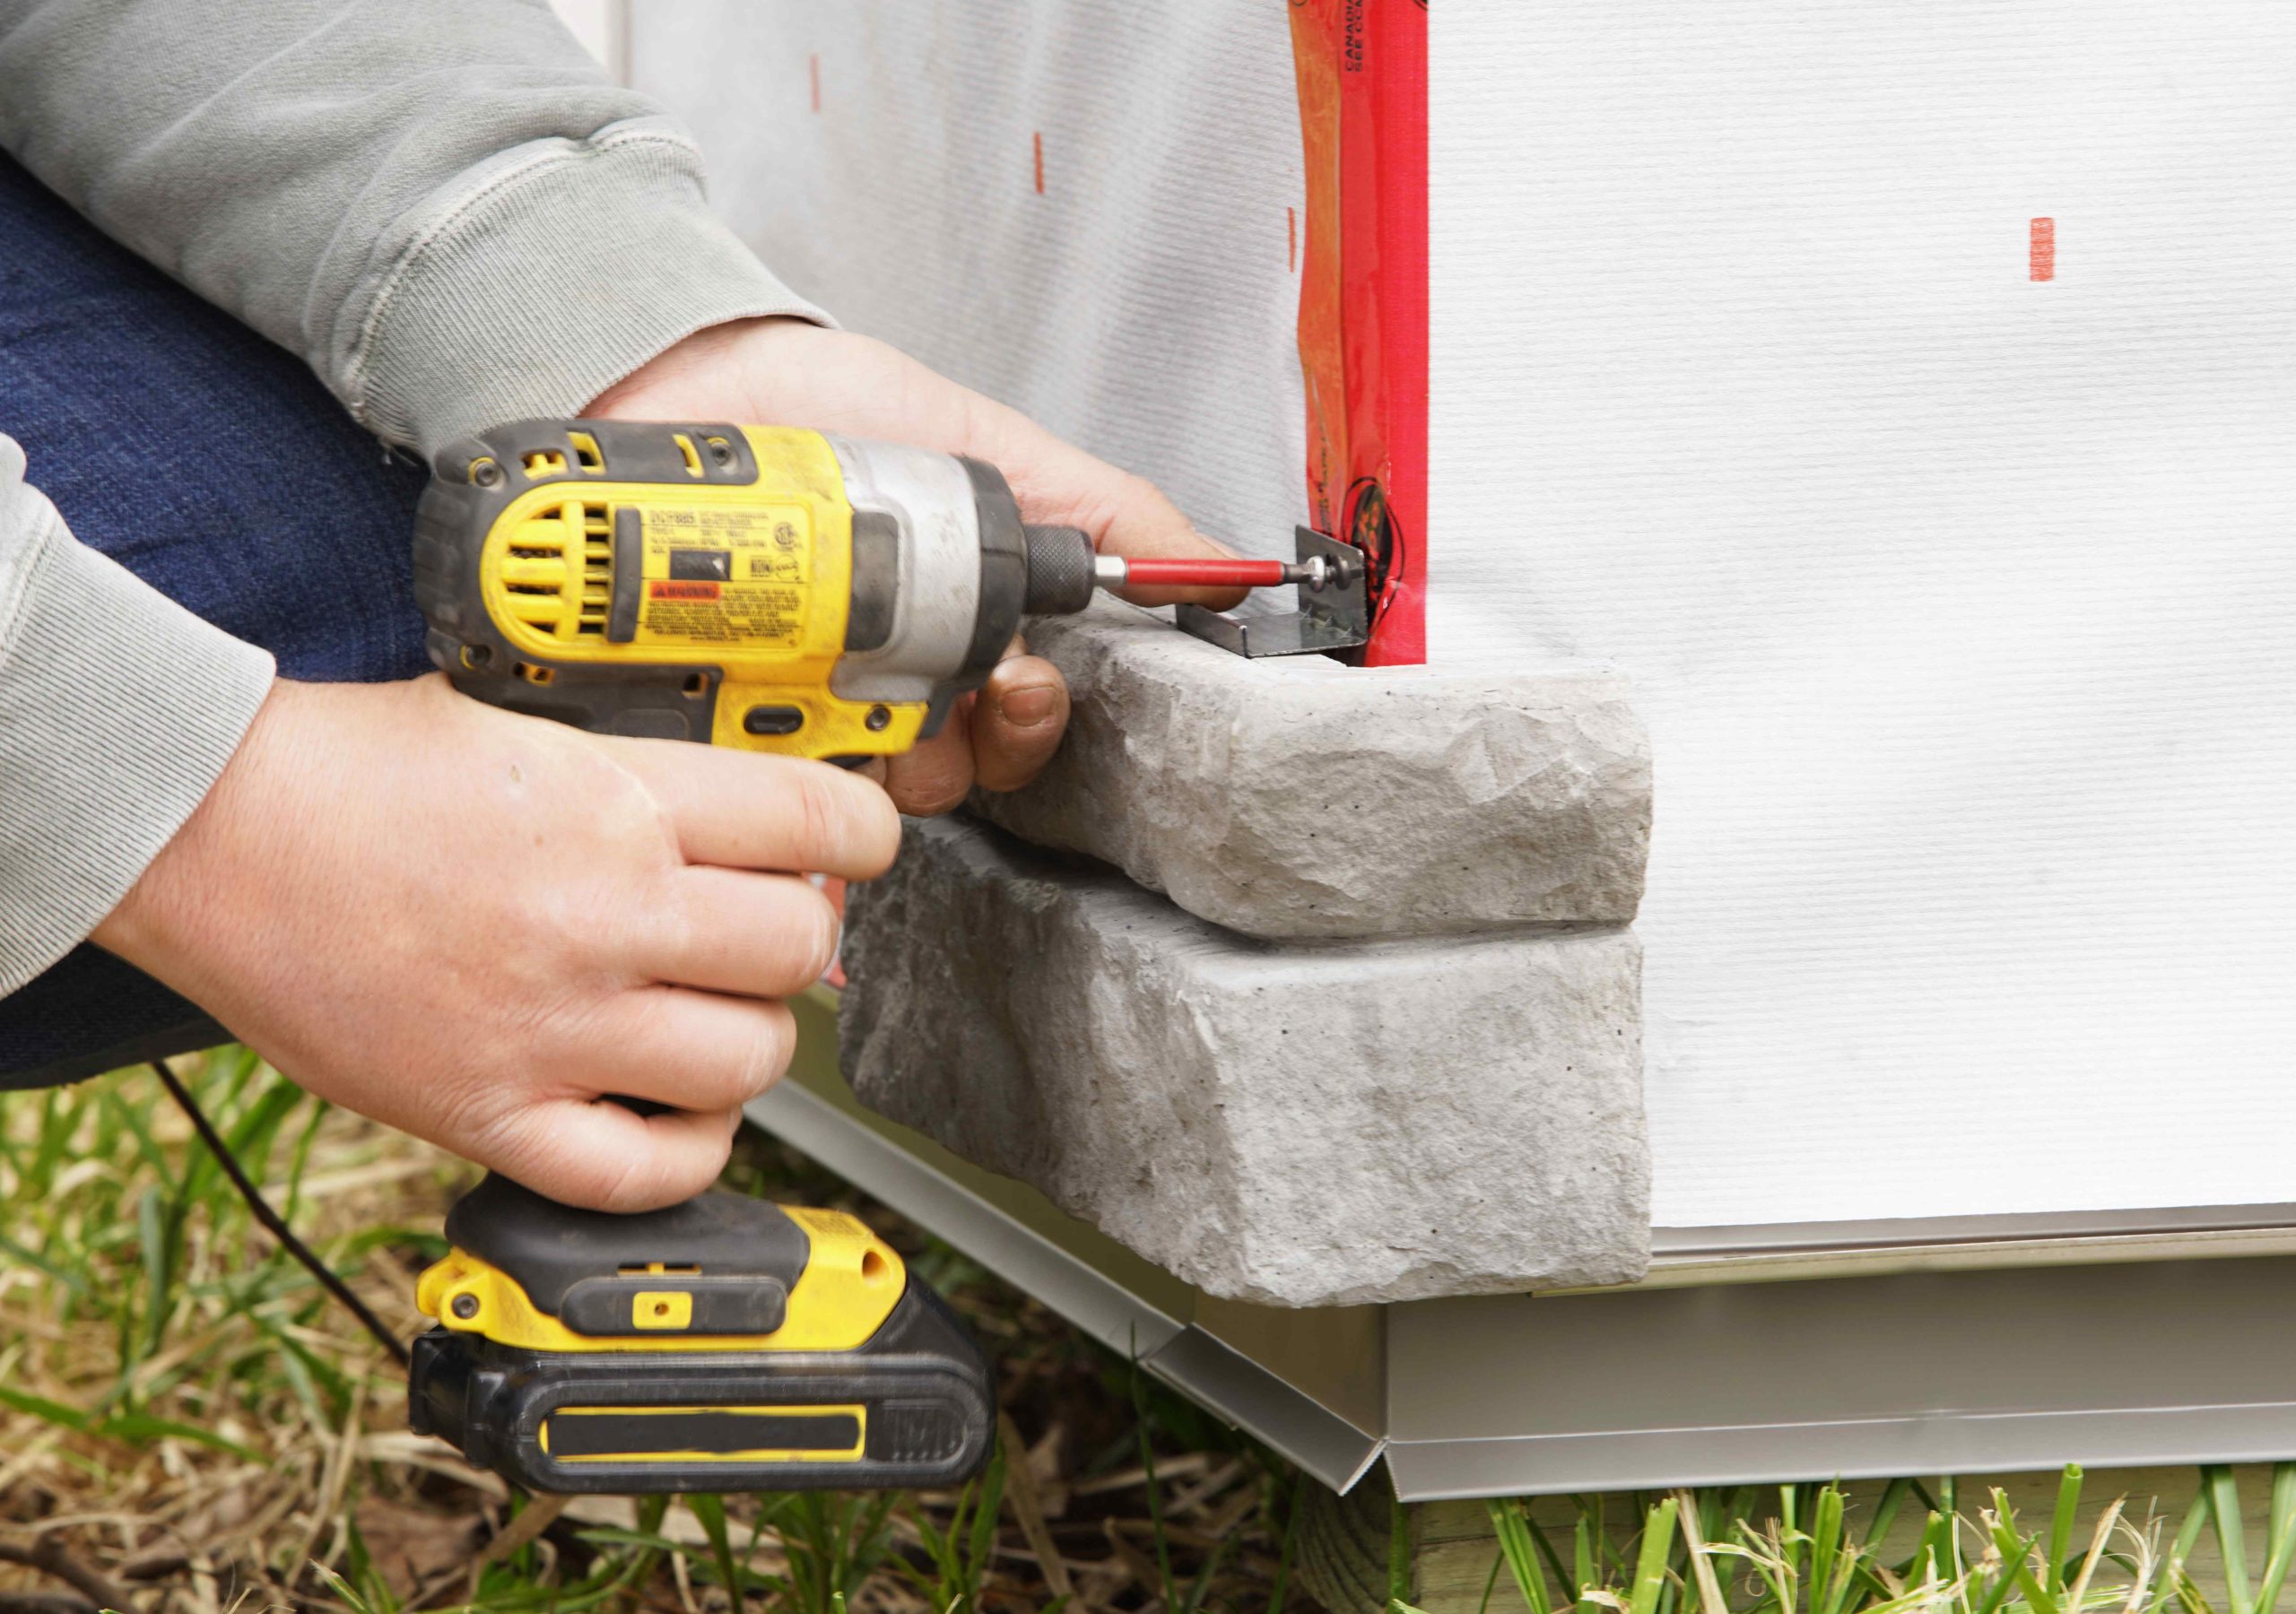
3. Screw in your corner stones
Start your stone application with the corners. Using your drill, screw the first corner stone in place, beginning at the spot where two outside walls meet.
4. Fill in the pattern
Once you have the corners in place, work away from them to install rows that complete the wall. Mix and match stones of various sizes and from various packs to get the best look. Using your saw equipped with a masonry blade, you may need to cut the final stones to length. The installation guide has a convenient diagram that shows you how to lay out the stones and where to place the clips for the most natural appearance. Finish the look by adding sills, electrical boxes or stencil stone accessories.
For more tips and tricks to install stone veneer with ease, check out how-to videos or Fusion Stone installation guides.
